Eyeliner has come a long way since the days when the only option was often a very hard and scratchy pencil which no matter how hard you tried just didn't want to draw a nice smooth line.
Let's face it, eyeliner is enough of a challenge to master let alone when you are dealing with difficult products right?
Thankfully the times have changed and we now have liquid eyeliners, crayon eyeliners, pencils which are a lot creamier, gels, and you can use an eyeshadow - dry or with a little cake sealer to make a paste.
With so many options how do you choose which one to use?
I am guided by three principles although the third is a bit of a cop-out and with practice can be eliminated:
1. Time of Day
2. Impact level / Occasion
3. Skill level (with practice you should be able to apply all types of eyeliner)
Ok these are my general rules and as we all know rules are made to be broken so you don't have to follow them religiously but I believe the following products are best applied in the following instances...
Night - liquid eyeliner, gel eyeliner, crayon eyeliner with a black eyeshadow brushed along the line to fix your crayon.
Day - dry powder (a black eyeshadow), wet powder (a black eyeshadow with a drop of cake sealer on your eyeliner brush), pencil
High Impact - liquid eyeliner, gel eyeliner, wet powder, crayon (again seal it with a black powder eyeshadow)
Soft Natural Look - dry powder, pencil
High Skill - liquid eyeliner, gel eyeliner, wet powder
Medium Skill - crayon
Low Skill - dry powder, pencil
It also helps to know what you are trying to achieve. So you need to ask "What is eyeliner for?" Eyeliner is used to make your eyelashes look fuller and thicker. Remember it doesn't always have to be black - but that's a whole other blog post!
Top tips for eyeliner application ... use a very thin flat angled eyeliner brush like this one (you lead with the edge where the bristles are shortest)
Or a bent precision brush like this one....(I have a mix of MAC and Napoleon brushes but I bought my precision brush from
Makeup Geek.)
Start with a thin line and then build the thickness to create your desired look. Make sure you run the product from the inner corner of your lashes, the part where sleep builds up, right out to the very last lash on the outer corner of your eye. The line should thicken slightly as you approach the halfway point and then continue to thicken on the way to the outer corner of your eye. This will make your eyes look like they are really open. You can definitely run the line past the out corner of your eye but always run it either up or level never down...down makes your eyes look droopy.

The angled flick on the end is another way to create a more "open" look. If you are using a liquid or powder eyeliner, use your thin angled eyeliner brush to creat the flick. This look is really hard to do with a pencil or a crayon because you need a thin line. The aim is to create a mini sideways triangle. The tip of the triangle is furthest from your eye and the two sides come down - one to meet the outer most lash of your eyelid and the other about one millimetre to the right of the first edge of the triangle if it's your left eye and the opposite for your right eye. You then colour in the space between the two lines to create your solid triangle.
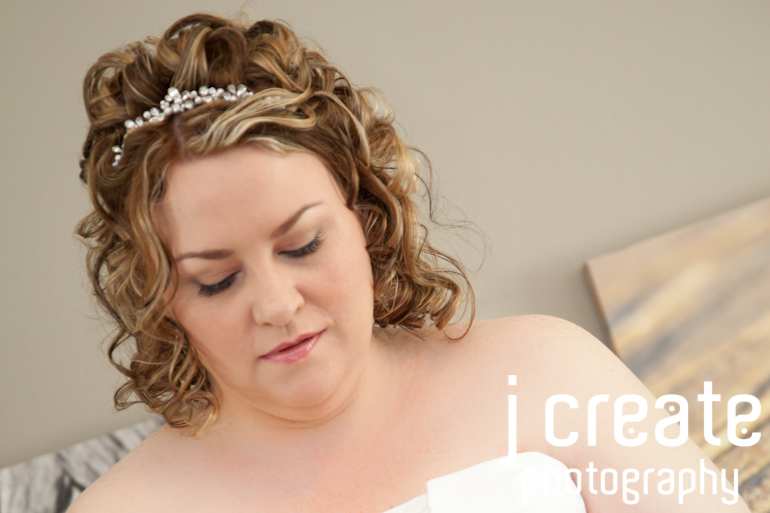
This line on the lady below is so crisp because a piece of sticky tape has been used - similar to when you are painting skirting boards or arcatraves and you protect the wall or floor with tape.
My favourite products...
MAC's Fluidline Eyeliner
Gel is my favourite liquid eyeliner. The gel is easier to apply than
other fluid liners but you still have to be very precise becuase it
dries super fast and is smudge proof! Once it's on, it's on and the only
way to fix any major mistakes is to take it all off and start again. If I'm using a flat angled eyeliner brush with this product I load my brush up on both sides and then wipe the excess on the edge of the fluidline jar. Then I press the brush onto my eyelid at the base of my top lash line, I lift the brush off, turn it over and press down again right next to the partial line I just created, making sure I am only using the very ends of the bristles so my line is nice and fine. I move along my eyelid one brush head at a time, I don't drag the brush along, I just keep loading up with product and placing it in the precise spot I want my line....it's almost like stamping the line on. Once I'm done, I load the brush with product again and very gently run the brush along my line to blend and smooth.

My other favourites are:
Arbonne's crayon eyeliner in "Charcoal" (great for your waterline ... the area on the inner rim of your lower eyelid) ... holding the skin next to the outer corner of your eye, half close your lid and in small strokes drag the crayon along your lash line until you've gone from one end to the other. Using a dry black eyeshadow powder and your angled brush, dust the powder along the crayon line you just drew to blend and set your eyeliner.
Napoleon Perdis' creamy black eyeliner pencil (also great for your waterline)....use the pencil in the same way as the crayon. It's not as critical to set this line unless you are using a really creamy pencil. It you don't set the lines you will end up with a line halfway up your eyelid when you blink...not a good look!
Napoleon Perdis' Colour Disc in "Black Velvet"...great on it's own to create a really soft looking eyeliner. Use your angled brush and really work the shadow into your lash line by wiggling the bristles slightly from side to side. Take the line in stages, don't run the brush along but work in tiny steps, really getting the shadow to sit in the base of your lashes. Don't even attempt a flick out to the sides with the powder, it's too messy.

Napoleon Perdis' Cake Eyeliner Sealer - add a few drops to the lid of your eyeshadow or the back of your hand, load your dry brush with product and then drag enough moisture from the drop of cake sealer to make a smooth paste - this is what you run along your lash line to create the eyeliner effect. I use my angled eyeliner brush and in two fluid motions starting from the outer corner of my eye I run to the middle of my eye then turn the brush over and run from the inner corner of my eye to the middle, smoothing over the point where the two lines meet.
 Arbonne's
 black liquid eyeliner...great if you want a thick heavy line but it's not at all waterproof.
Another consideration is how thick to make the line and this really comes down to eyeshape and mobile lid space (the amount of skin you have covering your eyeball). Looking straight ahead into a mirror is the best way to judge how thick a line you need to create. It also really depends on the "look" and impact you are going for.
The heavier the line along your top lashes, the more naked and exposed your bottom lashes appear so you may want to balance the two out by drawing a very thin line underneath your lower lashes or applying dark powder (doesn't have to be black) to your angled eyeliner brush and working that into your lower lash line. Always start at the outer corner of your eye. Place the brush right up against your lower lashes and then gently wiggle it from side to side about a millimetre at a time in each spot. Apply more powder to the brush and place it next to the powder you just applied, repeating this process until you have travelled from one end of your lower lashes to the other. Alternatively you can stop one quarter of the way across or three quarters of the way across.
I hope some of the above has been helpful and don't forget if you have a makeup question - join the forum on facebook and
Ask Abigail.